In an era of mass-produced accessories and factory-made products, the charm of something handmade and unique has become all the more appealing. There’s something magical about taking everyday items and turning them into beautiful, custom trinkets that reflect your personal style and creativity. Crafting at home not only gives you control over every detail of your creation but also offers the chance to express yourself in ways that store-bought items never could. Whether you’re making jewelry for yourself, gifts for loved ones, or even designing to sell, this guide will help you master the art of crafting your own custom trinkets from scratch.
Step 1: Finding Inspiration in Everyday Life
The first and perhaps most important step in designing your own custom trinkets is finding inspiration. Creative sparks can come from just about anywhere: a walk in the park, the texture of a fabric, or even objects that have been tucked away in a drawer. When you start seeing everyday items through a creative lens, the possibilities are endless.
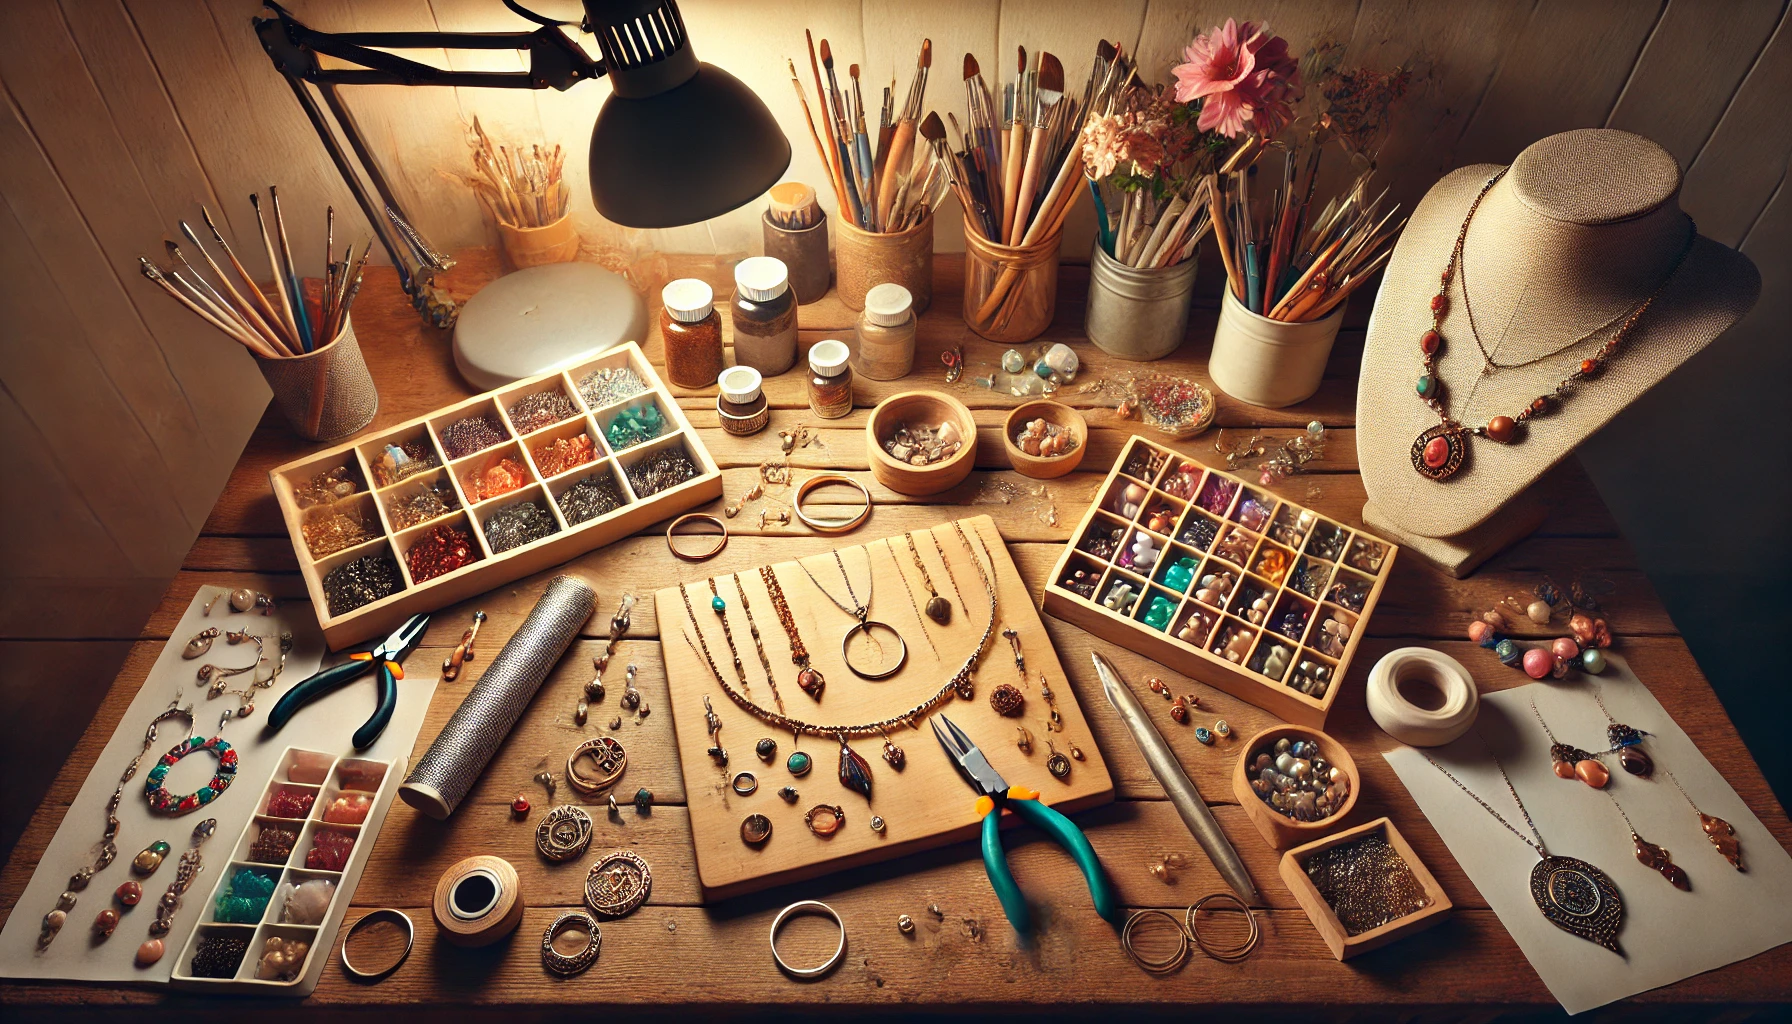
Look around your home for materials that have potential—buttons, broken jewelry, beads, or even bits of old hardware. You might find something as simple as a vintage button that could be turned into a pendant or discover that old keys make for interesting, whimsical charms. Also, don’t hesitate to draw inspiration from online platforms like Pinterest or Instagram, where you can find countless DIY crafting ideas. Whether you’re drawn to minimalist designs or prefer something more intricate, your personal style will help guide your choices.
Step 2: Sketching Your Design
Before diving into the crafting process, it’s helpful to sketch out your design. This doesn’t need to be a complex or detailed drawing—just something simple to help you visualize your concept. Sketching gives you the opportunity to play around with different ideas, shapes, and layouts, helping you avoid potential challenges during the actual crafting phase.
Consider the size and shape of the trinket, whether it’s going to be a necklace pendant, bracelet charm, or a pair of earrings. Also, think about how different elements like beads, stones, or other embellishments might interact with the overall design. Even a rough sketch can be invaluable in bringing your ideas into focus before you start working with your materials.
Step 3: Gathering the Right Supplies
Once you have your design in mind, it’s time to gather the supplies you’ll need. Depending on the complexity of your project, your list of materials might be simple or more extensive. Here’s a basic list to get started:
- Jewelry Findings: These include essentials like jump rings, clasps, and earring hooks, which you’ll need to assemble your trinkets.
- Tools: Pliers, wire cutters, and possibly a glue gun are key tools for most trinket projects.
- Base Materials: If you’re working with polymer clay, resin, or metal, be sure to have these on hand, along with any molds or sculpting tools.
- Embellishments: These could include beads, charms, small stones, or anything decorative that will bring your piece to life.
- Paints, Inks, or Markers: If you want to add color or patterns to your trinkets, having a variety of paints or markers on hand will help personalize your designs.
Organization is key when crafting. Having your supplies neatly arranged in containers or on a crafting table ensures everything is easily accessible when you need it, making the process more enjoyable and less chaotic.
Step 4: Preparing Your Materials
Before you start assembling your trinket, it’s essential to prepare your materials. If you’re using polymer clay, roll it out to your desired thickness, or if working with resin, mix the components according to the manufacturer’s instructions. Preparing these base materials ahead of time will make the crafting process smoother.
If you’re using found objects, clean them thoroughly before use. Old buttons, charms, and other objects may need a little polishing to bring them back to life. For materials like beads or metal pieces, ensure everything is organized and prepped so you can easily assemble your trinket without interruptions.
Step 5: Shaping and Forming Your Custom Trinket
Now comes the fun part: crafting your trinket! Depending on your materials, you might be shaping polymer clay, pouring resin into molds, or assembling pieces with wire and jump rings. Use sculpting tools to add fine details to your clay trinkets or carefully pour resin into your molds for a perfect finish.
If you’re working with found objects, use pliers and wire cutters to carefully connect the pieces. Perhaps you’re turning an old earring into a charm or linking a vintage button to a necklace chain. This step is where your creativity truly shines, and it’s an opportunity to experiment with different shapes, forms, and techniques.
Step 6: Adding Embellishments and Details
Once your trinket is shaped and formed, it’s time to add the final details that will make it truly unique. This is where you can get really creative. Think about gluing on small beads, adding stones, or even using paint and markers to add color and patterns. The more personalized your embellishments, the more distinctive your trinket will be.
For instance, adding a tiny gemstone to the center of a clay pendant or painting intricate designs on a resin piece can completely transform its look. Don’t be afraid to experiment with layering different materials or combining textures to achieve something completely one-of-a-kind.
Step 7: Assembling Your Trinket
Once all the embellishments are in place and your trinket has fully taken shape, it’s time to assemble it into a wearable piece of jewelry. Use jump rings to attach your charm to a necklace chain, earring hooks, or a bracelet base. Opening and closing jump rings with pliers is a simple but essential skill in jewelry making.
For a charm bracelet, ensure that the clasp allows the bracelet to open and close easily, making it practical to wear. If you’re creating a necklace, think about the chain length that will complement your trinket design best.

Step 8: The Final Touches
Before you finish, give your trinket one last inspection. Trim any excess clay or remove any excess glue, ensuring that everything is securely attached. For polymer clay and resin pieces, a quick coat of varnish or clear gloss will help protect your creation and give it a polished, professional look.
Consider packaging your custom trinket in a small gift box or pouch, especially if it’s a gift. Not only does this add a personal touch, but it also protects the piece until it’s ready to be worn.
Step 9: Sharing and Displaying Your Work
Now that your trinket is complete, find creative ways to showcase it! Whether it’s a custom necklace, a pair of earrings, or a charm bracelet, display your work proudly. Use a jewelry stand or pegboard to show off your collection at home, or consider photographing your pieces to share on social media.
Platforms like Instagram, Pinterest, and even Etsy are fantastic places to connect with other crafters, share your work, and find inspiration. You might even decide to turn your hobby into a small business by selling your custom trinkets online or at local craft fairs.
Conclusion: Crafting with Personal Touch
Designing and crafting custom trinkets is more than just a creative activity—it’s a chance to infuse your personal style into something tangible, meaningful, and unique. Whether you’re repurposing found objects or starting from scratch with clay or resin, the joy of making something that reflects your creativity is deeply rewarding. By following this guide, you’ll not only learn the technical skills of crafting but also develop your own artistic voice through the pieces you create.
Crafting is about experimentation, learning, and having fun. Don’t be afraid to try new things, make mistakes, and embrace the process. Each trinket you make will carry a piece of your personality, making it truly one-of-a-kind. Happy crafting!


