Essential Tools and Materials for Working with Polymer Clay
Must-Have Tools for Every Polymer Clay Artist
When diving into the enchanting world of polymer clay, your tools are your magic wands. The right ones will transform your creative ideas into tangible, jaw-dropping pieces. Here are some essentials you’ll need to bring your fantasy charms to life:
- Craft Knife: Precision is everything, and a sharp craft knife allows you to carve delicate details like dragon scales or fairy wings with ease.
- Acrylic Roller: Forget using a wine bottle! A smooth acrylic roller helps you evenly flatten the clay without leaving pesky fingerprints.
- Clay Tools: Pick up a set of dotting tools, needles, and silicone shapers—they’re like tiny sculpting brushes for your miniature masterpieces.
- Pasta Machine: Yes, really! This isn’t just for spaghetti. A pasta machine ensures consistent thickness and blends mesmerizing gradients in your clay.
The Little Things That Make a Big Difference
Working with polymer clay is all about the nuances. Some overlooked but vital materials include:
Baking Surface: Use a sturdy tile or a sheet of parchment paper. It keeps your creations steady, plus it makes transferring them to the oven stress-free.
Sanding Tools: A good sanding block or fine-grit sandpaper works wonders for smoothing rough edges after baking. Finish with a buffing cloth for extra shine!
Glaze: Want that magical, glossy finish? A thin layer of polymer clay glaze turns your charms into glowing works of art (unicorn horns have never looked so shiny!).
These tools and materials are your creative companions, ready to help you shape magic out of clay.
Step-by-Step Guide to Crafting Fantasy Charms
Begin Your Magical Journey: Shaping the Base of Your Charm
Ready to dive into your creative adventure? Let’s start with the foundation of your fantasy charm—the base. Imagine this as the blank canvas of your masterpiece. Take a small piece of polymer clay, warm it up between your fingers until it feels soft and pliable, like cookie dough just waiting to be shaped. Don’t rush—this step is where the magic begins to breathe life.
Roll it into your desired shape: a tiny potion bottle, a mythical creature, or maybe a delicate fairy wing. A toothpick comes in handy here—as versatile as a wizard’s wand, it can carve out details, form holes for hanging, or fix tiny imperfections.
If you’re new to polymer clay, stick to basic forms before diving into intricate designs. Think of it as learning to walk before you run across enchanted forests!
Add Personality: Combine Layers and Colors
This is where your charm starts to develop its own little soul. Add multiple layers of clay to create textures or features. For instance:
- Swirls of glittery clay for a galaxy effect on a dragon’s egg.
- A contrasting shade to craft scales, fur, or feathers for mythical creatures.
- Marbled hues to mimic magical stones or talismans.
Blend and smooth each layer gently with your fingertips or a clay tool, but leave intentional lines or curves if they tell a story. The slightest imperfection can feel like an ancient relic touched by time!
Tips for Adding Details and Texture to Your Charms
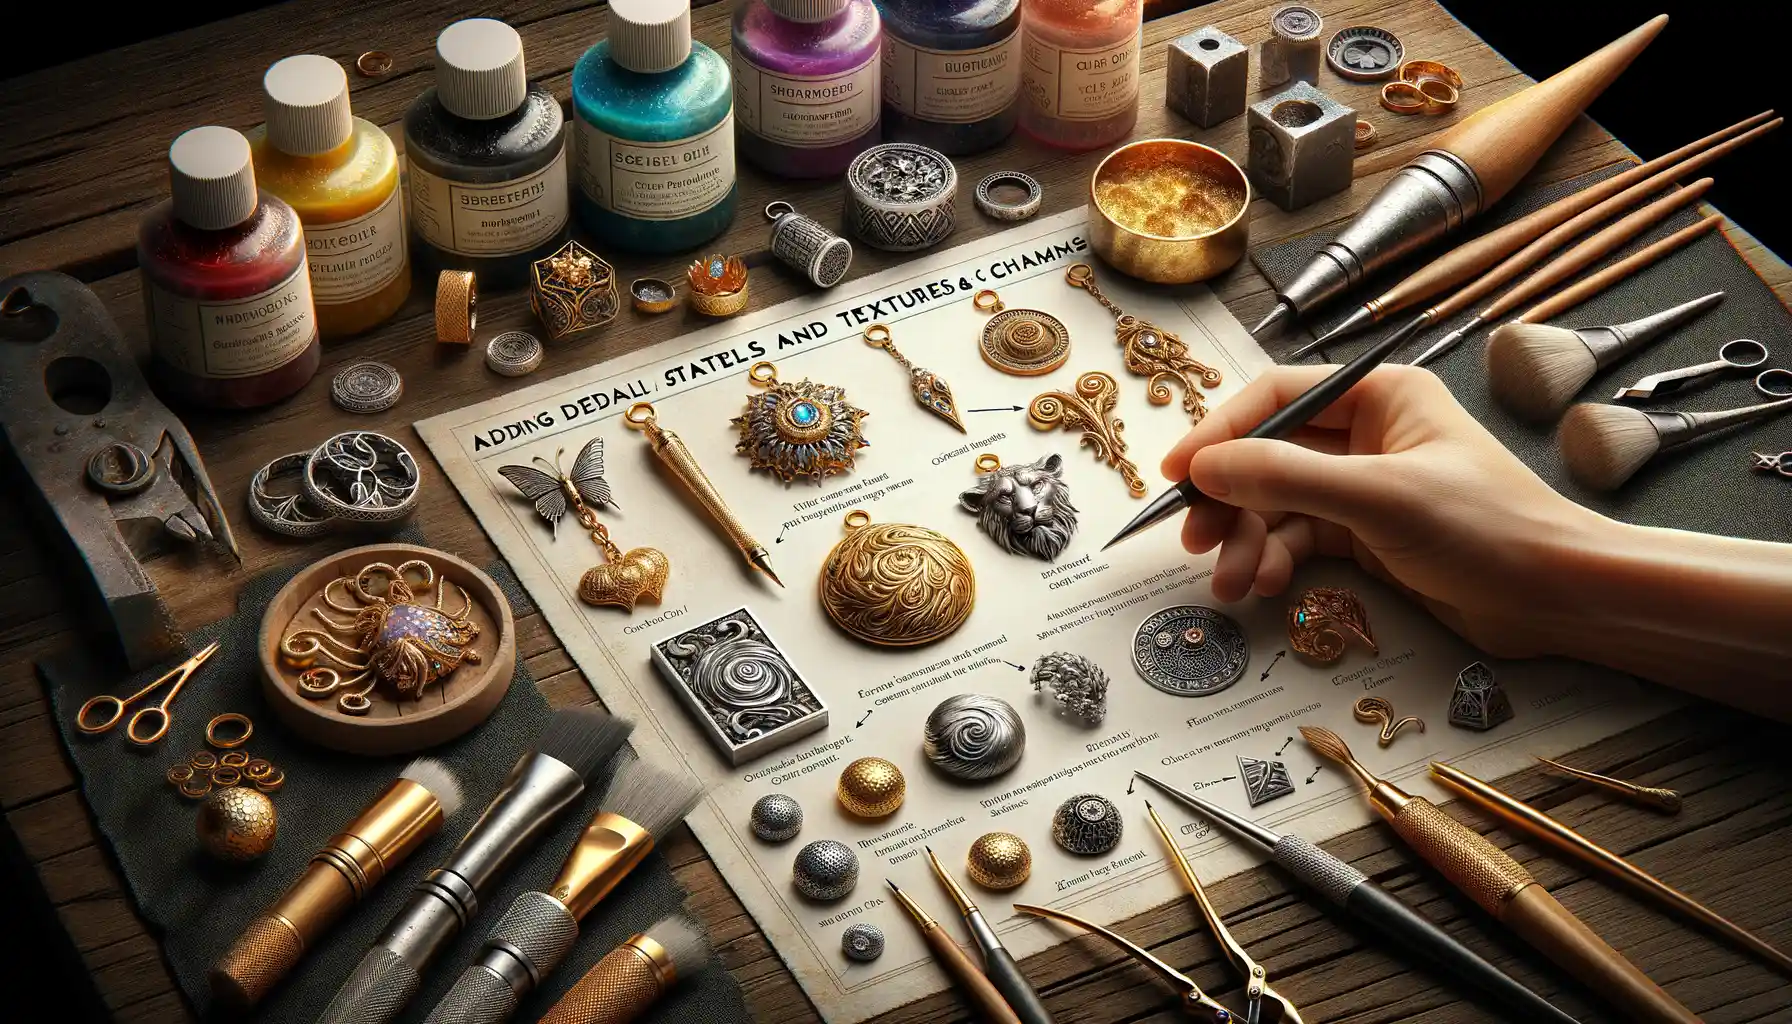
Bring Your Charms to Life with Intricate Details
Creating fantasy charms is like sprinkling a little magic into tangible form, and the real enchantment lies in the details. Want your dragon scales to shimmer or your fairy wings to whisper of mystical lands? Start by playing with textures! A simple household item can become your secret weapon—a toothbrush, for instance, creates the most delightful roughness for stone-like finishes, while the tip of a needle etches elegant designs into soft clay.
Don’t stop at tools! Use your fingers—they’re wonderfully precise for softening edges or shaping tiny details. And don’t overlook everyday treasures: aluminum foil makes perfect indents for tree bark or cracked-earth patterns, and lace pressed gently into the clay leaves behind a hypnotic, delicate texture. Let your imagination roam!
Coloring Outside the Lines
Details aren’t just about texture; they’re about color, too. After baking, bring your charms to life with some creative painting or glazing. Here are some ideas to try:
- Dry brushing: Dust a nearly dry paintbrush over raised texture for highlight magic.
- Layered washes: Thin layers of paint add depth to engraved patterns, making them pop.
- Metallic finishes: Give dragon horns or magical relics a touch of shimmering gold or silver.
Mix techniques and let your fantasy world expand!
Baking and Finishing Techniques for Polymer Clay Charms
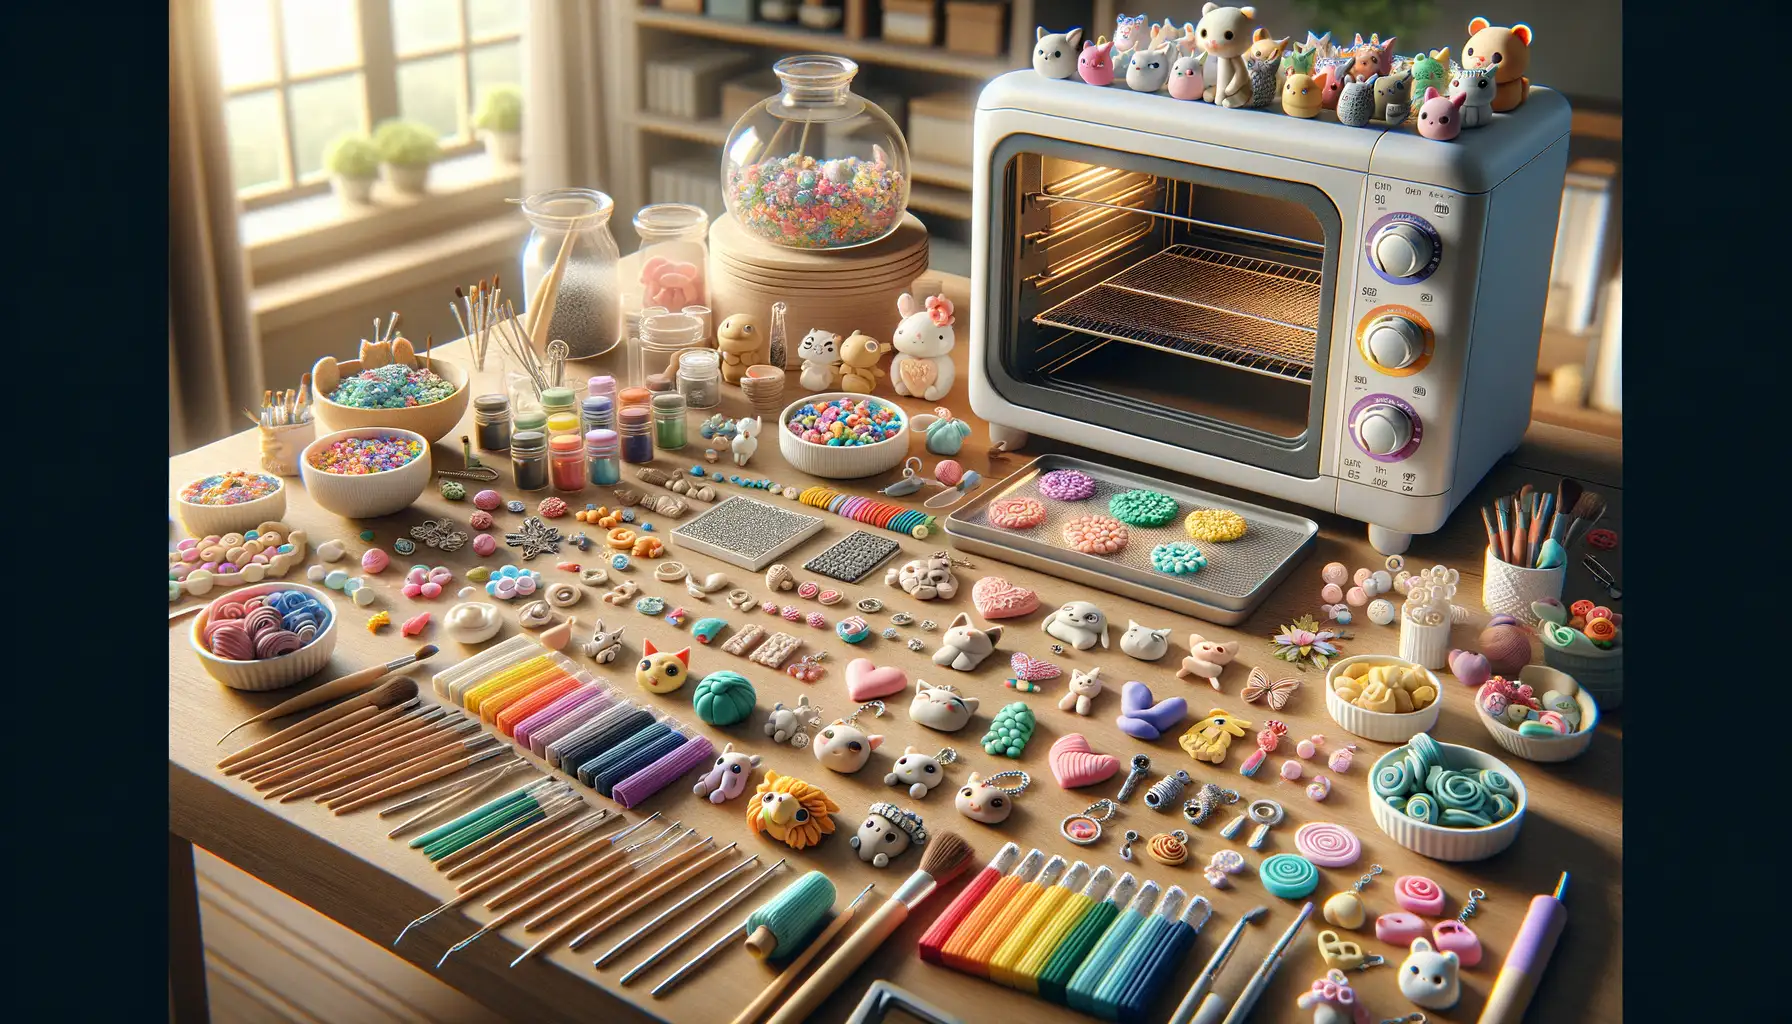
The Magic of Baking: Locking in the Charm
Baking polymer clay is where the real magic happens—it’s like turning dough into cookies but for fantasy enthusiasts! The trick? Follow the instructions on your clay package to the letter. Different brands, like Sculpey or Fimo, might have slightly different baking times and temperatures, so keep that oven dial precise.
Place your precious charms on a ceramic tile or a dedicated baking tray (not the one you roast veggies on—trust me, polymer clay and dinner don’t mix!). Better yet, cover them with parchment paper or an aluminum foil tent to protect details from browning. A kitchen timer becomes your best friend here. Overbaked clay can darken or even burn slightly—cue the heartbreak of seeing your pink unicorn horn turn into something out of a campfire ghost story.
The Final Flourish: Sanding, Buffing, and Sealing
Once they’re baked and cooled, it’s time to polish those charms until they shine. For smooth edges, grab a fine-grit sandpaper. If you’re feeling fancy, buffing with a soft cloth gives a natural gleam. Want a glossy finish? Add a thin coat of polymer clay glaze. Choose between matte and shiny to match their personality—because yes, even mini dragons need style!
Creative Ideas and Inspiration for Fantasy-Themed Charms
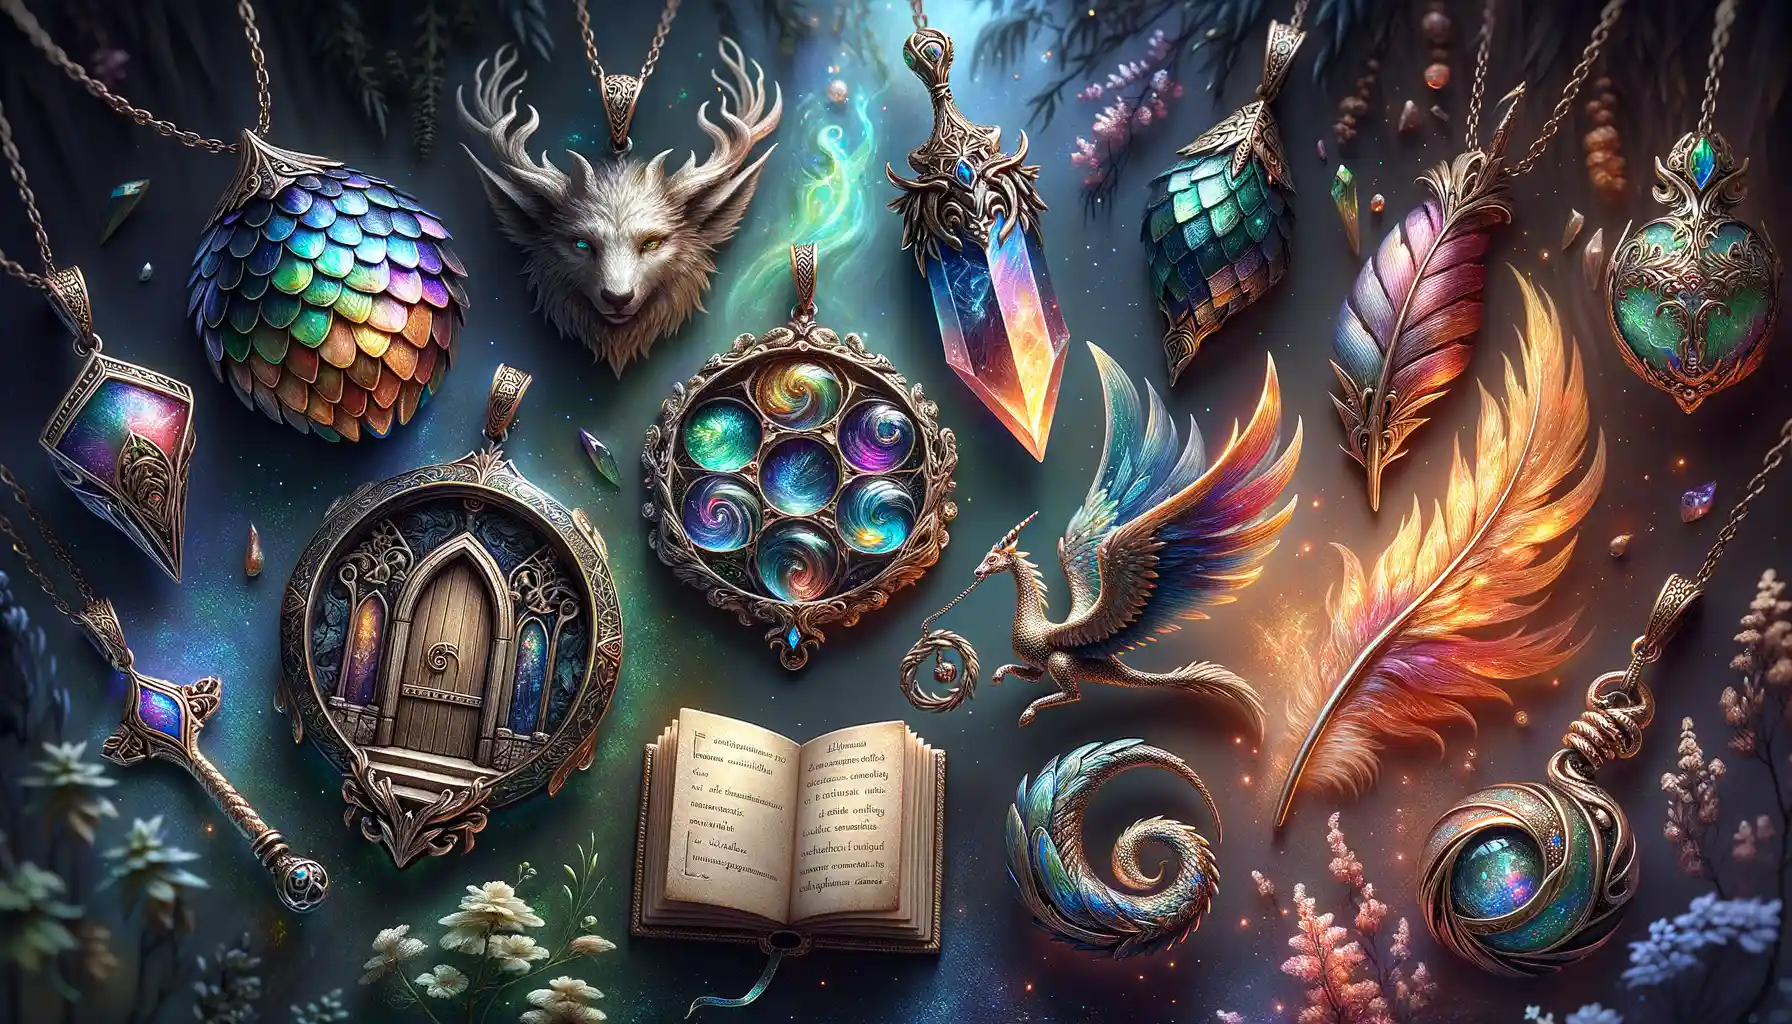
Unleashing Magical Worlds Through Your Charms
Let your imagination soar beyond the clouds! Crafting fantasy-themed charms isn’t just about polymer clay—it’s about breathing life into enchanting worlds. Picture a tiny spellbook with pages that look like they hold ancient secrets. Or a shimmering dragon egg, marbled with metallic swirls, waiting to hatch. These aren’t just crafts; they’re stories in miniature form.
Dive deep into mythical vibes by recreating iconic pieces like a wizard’s staff no taller than your thumb, or delicate fairy wings, translucent and sprinkled with shimmer. Think of adding texture to that “goblin treasure” charm with small imprints of coins or rough gemstones. Or, go playful—how about a potion bottle charm filled with faux glowing liquid?
- Nature-inspired fantasy: Create twisted tree stumps with tiny mushrooms hugging their roots.
- Creature-based ideas: Sculpt baby unicorns, krakens gripping anchors, or sleeping phoenixes.
Don’t be afraid to add your unique twist. Who says mermaids can’t have starfish crowns? The real magic lies in capturing your vision and letting the details tell their own captivating tale.