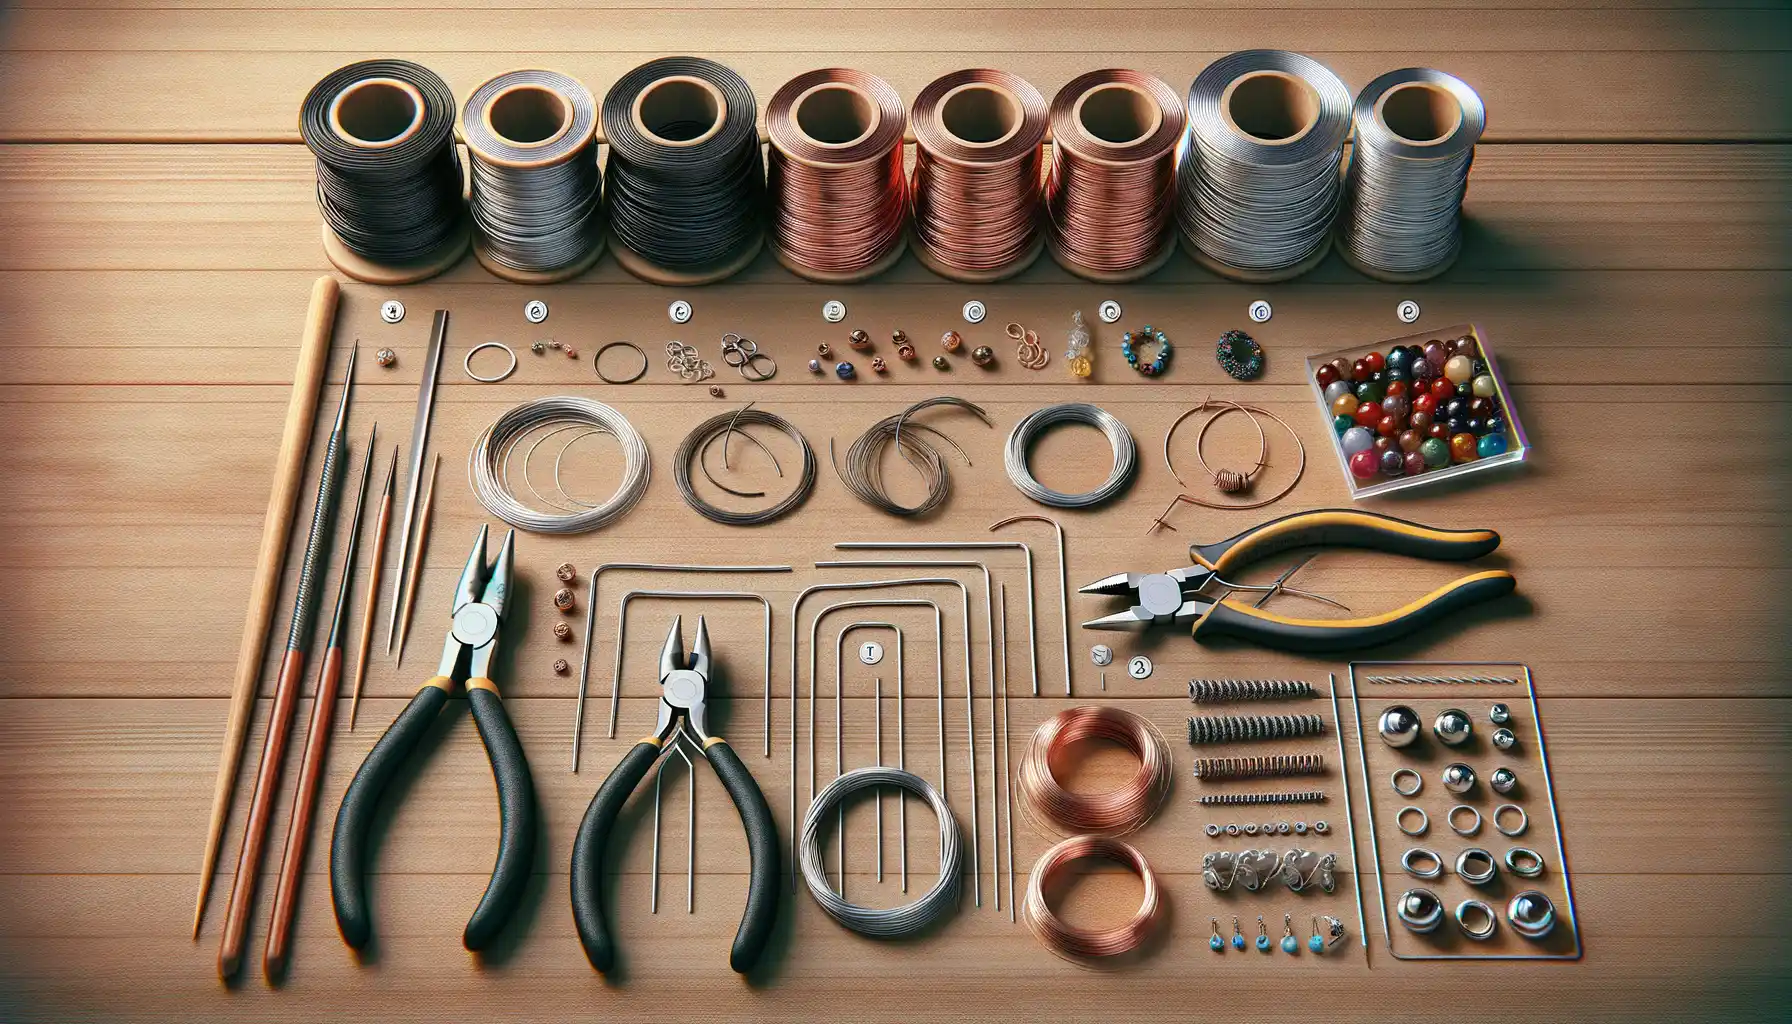
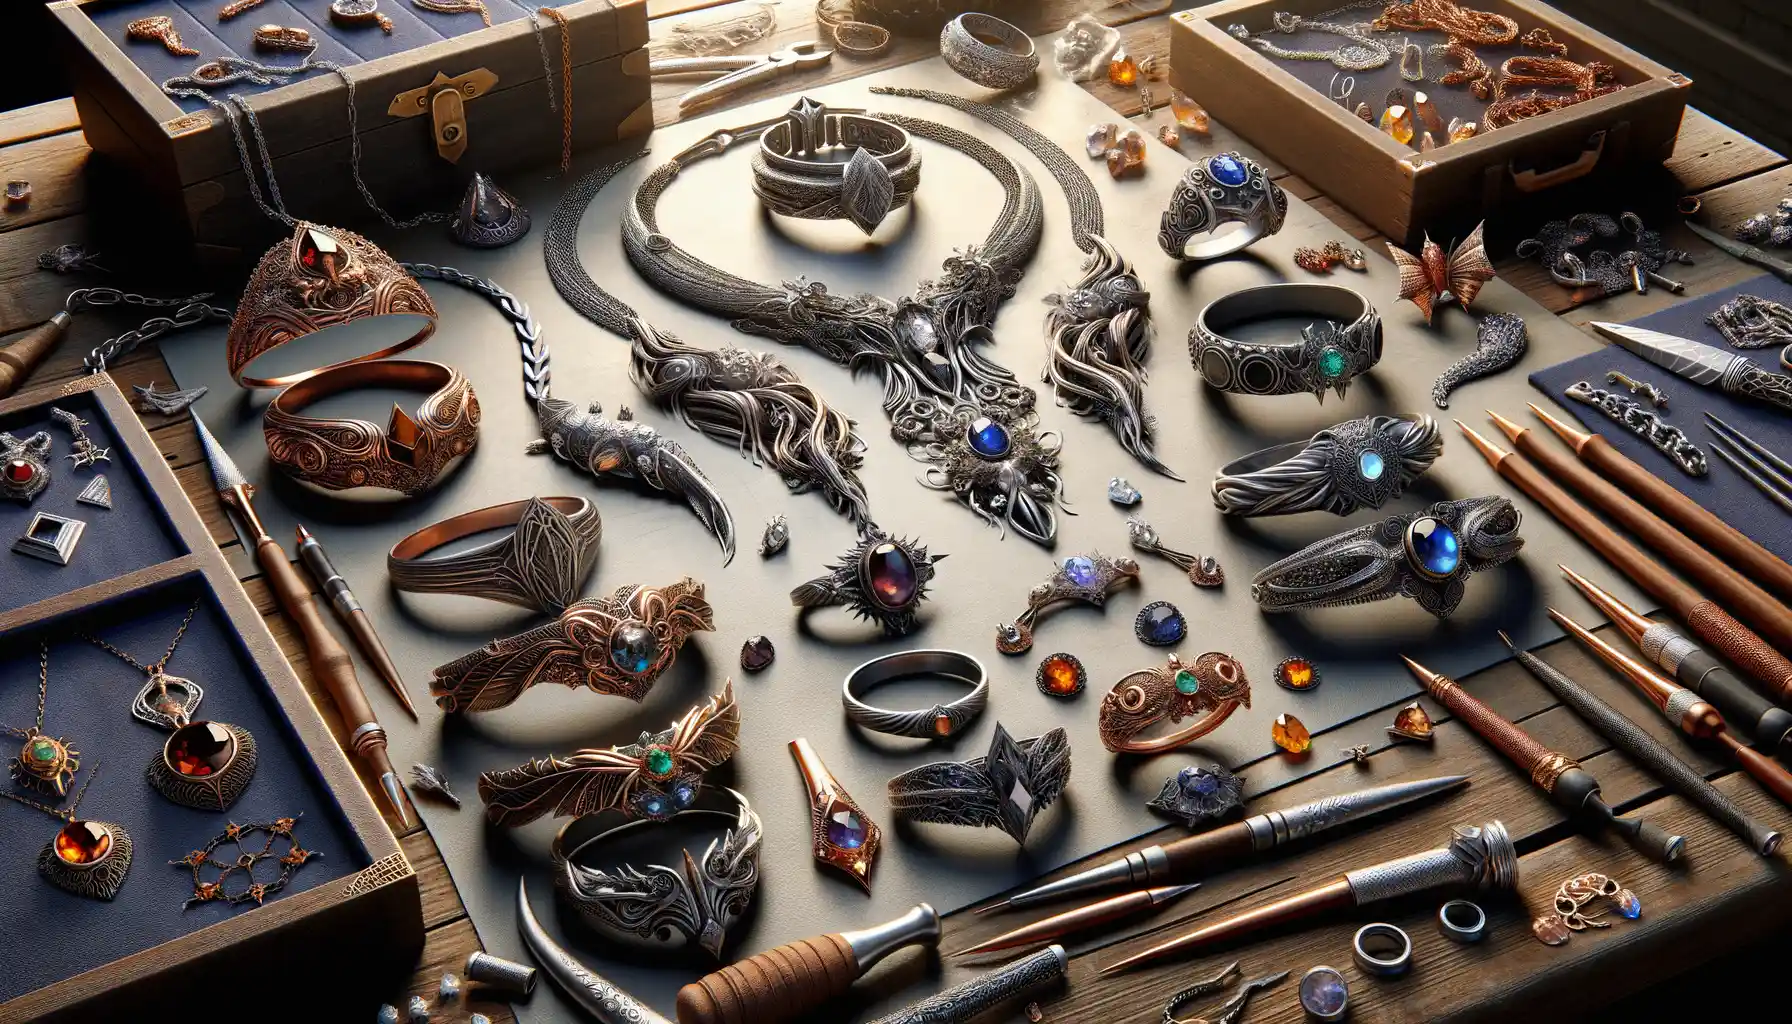
Essential Tools and Materials for Wire Wrapping
Your Wire Wrapping Toolkit: Unlocking Creativity
When diving into the enchanting world of wire wrapping, your tools are your wands, ready to weave magic. The right gear isn’t just helpful—it’s transformative, turning ideas into tangible works of art. You don’t need a treasure chest full of fancy equipment to start, but there are a few essentials that will soon feel like extensions of your hands.
Let’s start with pliers—your new best friends. A trusty round-nose plier is perfect for creating loops and curves, while a flat-nose plier ensures precision when it comes to gripping and straightening. Oh, and don’t forget the mighty needle-nose plier, great for those fine, intricate twists!
Some other must-haves?
- Wire cutters: Snip through copper or silver wires without damaging their delicate edges.
- Mandrels or dowels: These cylindrical tools make shaping consistent coils and rings a dream.
- A Because in fantasy jewelry, even fractions matter!
Choosing Wires That Speak to Your Artistic Soul
Not all wires are created equal. For beginners, try copper wire. It’s forgiving and pliable, making it ideal for experiments. But if you’re chasing that ethereal, fairy-tale vibe, consider shimmering silver-plated wire or glowing gold tones. Gauge matters too; thinner wires (22–28-gauge) are perfect for intricate designs, while thicker wires (16–20-gauge) work wonders as sturdy bases.
And let’s not forget the unsung hero—a good old polishing cloth. Because nothing dims a masterpiece like tarnished wire! Keep these tools close, and soon your workstation will feel like an alchemist’s lab, where raw materials transform into pure fantasy.
Step-by-Step Guide to Basic Wire Wrapping Techniques
Getting Started: Crafting Loops With Finesse
Ready to take the first step into wire wrapping magic? Let’s dive into creating those picture-perfect loops that are the backbone of countless jewelry designs. Start with your wire and round-nose pliers – these are your new best friends. Gently grasp the end of the wire with the tips of the pliers, leaving just a little tail peeking out. Now, here’s where the magic happens: twist the pliers in a smooth circular motion, like you’re twirling a wand.
You might feel awkward at first – don’t worry, every artist fumbles! Adjust the size of your loops by moving the wire further up or down the plier jaws. Small loops whisper delicacy, while larger ones add boldness.
Pro tip? Secure your grip firmly (but not too tight – wires have feelings too!) and practice consistency. It’s oddly satisfying when all your loops start looking like they’re part of the same family.
Mastering the Wrap: Turning Wire Into Art
Once you’ve conquered the loop, it’s time to wrap! Think of this step as giving your design a snug little hug. Grab the wire right below your loop with flat-nose pliers, then use the tail to wrap tightly around the main piece. Aim for neat, even coils—like tiny decorative rings holding your work together.
Here’s a cheat sheet for smooth wraps:
- Keep tension consistent. Too loose? Your design might unravel. Too tight? The wire may kink.
- Trim and tuck: Snip any extra wire and press down sharp ends with pliers to avoid scratches.
- Practice on scraps: Spare wire is your playground before tackling real projects!
Each wrap you make is a step closer to bringing your fantasy jewelry visions to life. It’s like sculpting wire into wearable dreams—how amazing is that?
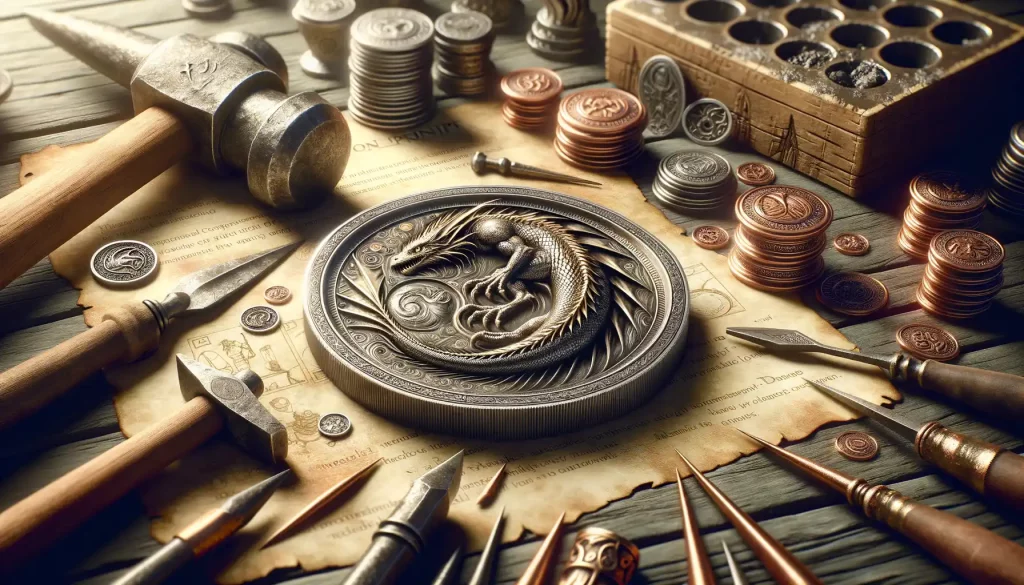
Advanced Wire Wrapping Styles for Fantasy Jewelry

Unlocking the Secrets of Intricate Wire Patterns
Do you ever look at a piece of fantasy jewelry and wonder, “How did they even DO that?”—the swirling filigree, the almost magical twists that seem to defy gravity? That’s the beauty of advanced wire wrapping techniques. They’re intricate, yes, but oh-so-rewarding once you master them.
One style that catches the eye is the mesmerizing *weave* effect. Picture this: thin wires braided together with painstaking precision, creating a lacy, otherworldly texture perfect for elven-inspired designs. Or how about the double-coil technique? This approach involves wrapping one wire around another in spirals, then bending it into shapes like dragon wings or celestial halos.
- Vortex Wraps: Perfect for creating that swirling, galaxy-esque look around gemstones. Tiny loops mimic the pull of a black hole!
- Basketwork Weaves: Think medieval armor meets delicate art. Interlace your wires like tiny vines growing over a treasure chest.
Here’s a tip—don’t be afraid to mix metals! Combining bright silver with antique copper or glimmers of rose gold can transform your project into something straight out of a fae queen’s treasure hoard. Play with textures and let the wire tell a story of enchantment.
Incorporating Stones and Beads into Wire Wrapping Designs
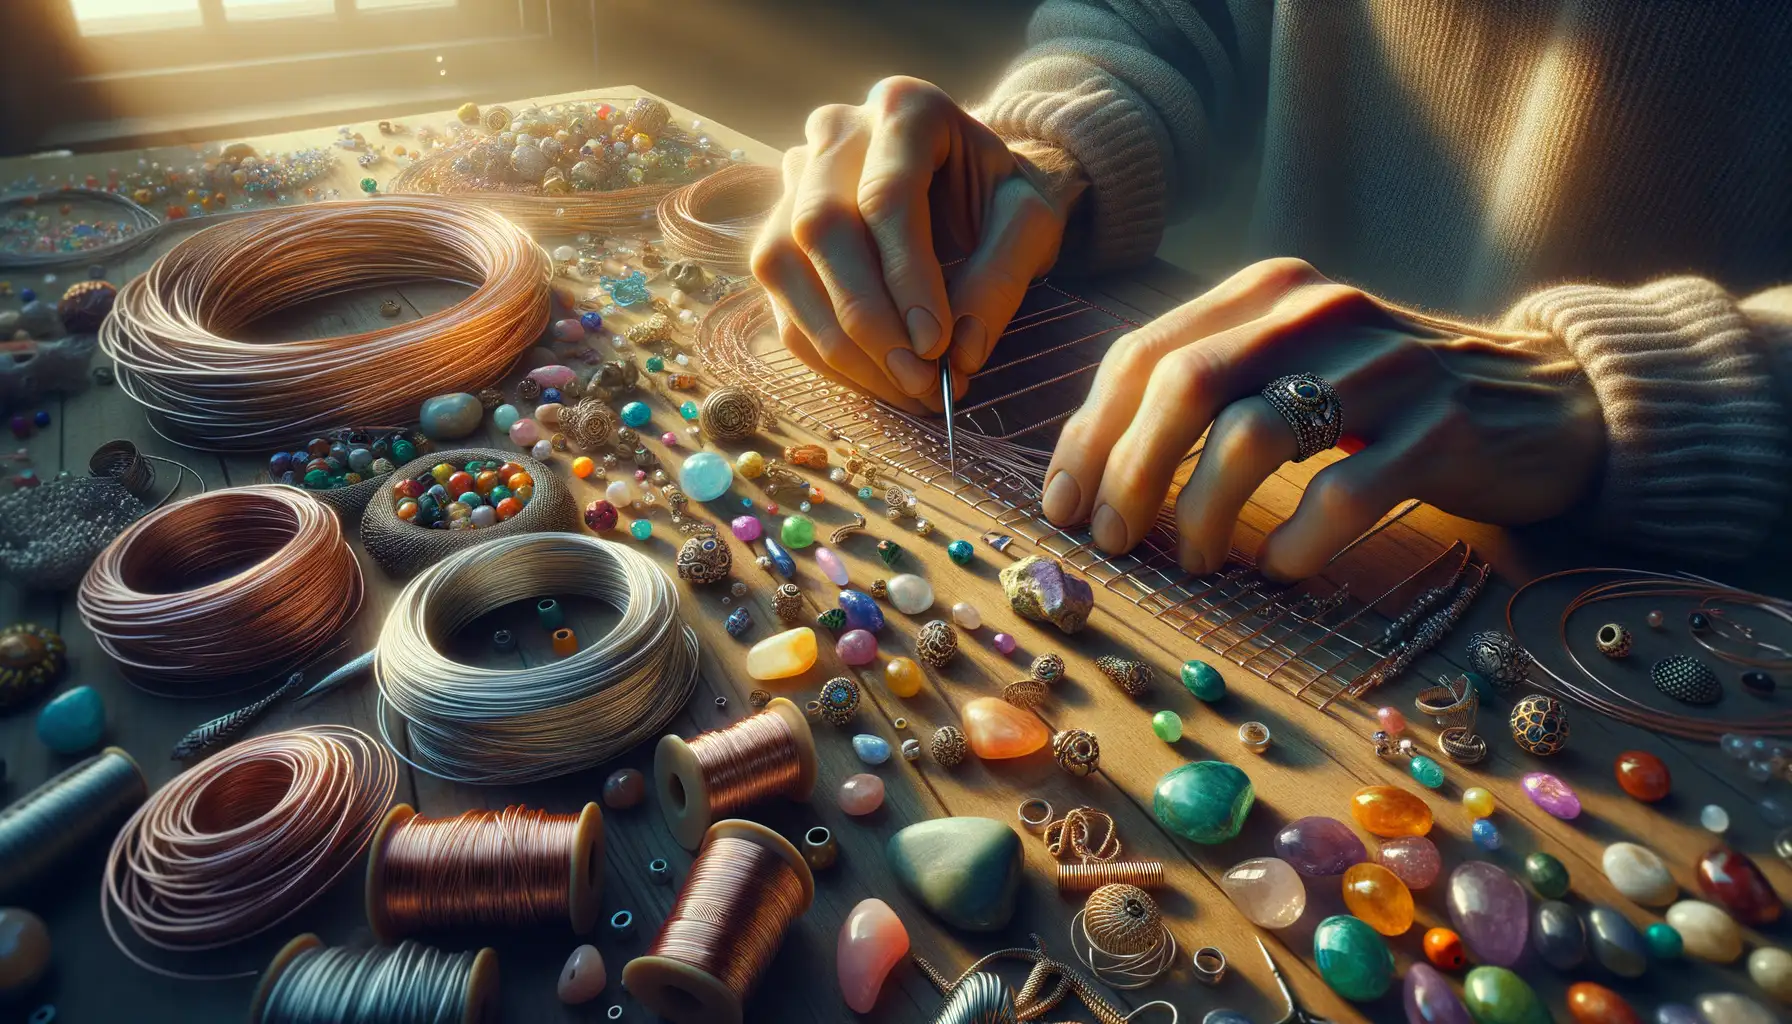
Bringing Your Designs to Life with Gemstones
There’s a certain magic in weaving stones and beads into your wire wrapping masterpieces. Picture this: a shimmering moonlit quartz nestled in a cradle of twisting silver vines, or a fiery carnelian bead glowing like an ember in the heart of a spiraling copper embrace. These elements don’t just decorate—they breathe character and soul into your designs.
When selecting your stones, let them speak to you. Maybe a polished amethyst whispers tales of fantasy realms, while raw labradorite flashes secret hues of blue and gold. Don’t be afraid to play with textures! Mix smooth glass beads with rough-cut crystals to create a stunning juxtaposition.
- Caging: Encircle a stone with intricate wire loops, giving it the appearance of being captured in a spellbinding net.
- Weaving: Use fine wire to thread beads into graceful patterns, as if they’re dancing across your design.
Each stone has a story, each bead a personality. Let your wires become quills, writing a tale of enchantment that’s uniquely yours.
Tips and Tricks for Crafting Unique Fantasy Jewelry
Unleash Your Inner Storyteller
Your fantasy jewelry isn’t just an accessory—it’s a story brought to life. To make your creations stand out, start by embracing the wild and unpredictable. Imagine your wire as a dragon’s tail or the flowing branches of an enchanted tree. Let your designs whisper secrets from ancient realms. Don’t be afraid to experiment with asymmetry—imperfections can make your pieces feel authentic and raw, like treasures unearthed after centuries.
Play around with textures too. Hammer some wires for that rugged, medieval vibe, or twist them finely for something more elven and graceful. And hey, why stick to just gold or silver tones? Mix in dark oxidized metals for a gothic touch or add vibrant, mythical hues using patinas or colored wires. Think outside the box—a phoenix feather deserves fiery reds and blazing oranges, doesn’t it?
Quick Hacks for Spellbinding Details
Sometimes, tiny details transform a good piece into pure magic. Try these hacks to elevate your work:
- Coiling mini vines: Wind fine-gauge wire around thicker ones to mimic intricate forest tendrils.
- Creating “aged” looks: Use a liver of sulfur solution to give your jewelry an ancient, weathered effect.
- Hidden meanings: Incorporate symbols or runes into your design—let wearers feel like they hold a secret talisman!
Above all, let your creativity roam free. Fantasy jewelry is about defying rules and inventing new worlds, one twist of wire at a time.